Outback Tested: How Bull Bars Perform in Remote, Rugged Conditions
Out where the bitumen fades and red dirt takes over, your vehicle’s nose is the first thing to cop punishment. Deep ruts, stray branches, wildlife with no sense of road etiquette—every kilometre adds risk.
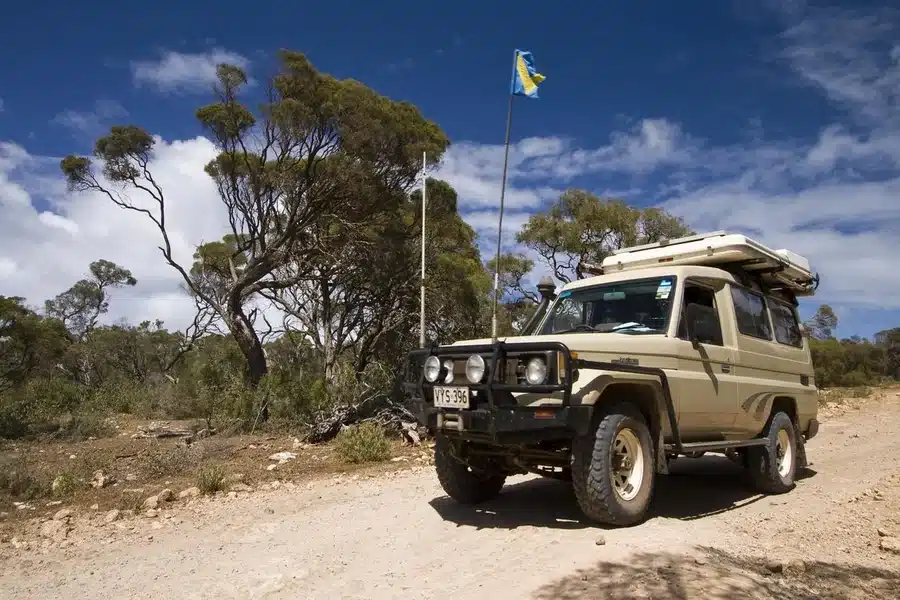
What you need is a battle armour that soaks up hits, shields vital components, and gives you half a chance of finishing the trip rather than waiting for a tilt‑tray that may never come. We’re talking about a perfectly-fitted bull bar, which comes in the form of a Hilux bullbar, if you drive a Toyota Hilux. Get the point?
Built for Impact: The Real‑World Role of Bull Bars in Animal Strikes
Ask anyone who’s had a ‘roo jump out at sunrise—impact happens fast. A quality bar spreads collision forces through multiple chassis mounts, directing energy away from delicate front‑end assemblies.
Geometry matters here: upswept wings deflect animals under or over the bar, while tapered edges reduce snag points. Material thickness and high‑tensile crush tubes add a second line of defence, protecting radiators, intercoolers, and headlamps. The result? You keep coolant inside the system, lights pointing forward, and the engine breathing freely when it matters most.
Recovery‑Ready: How Bull Bars Integrate with Your Rescue Gear
The moment you bury the diffs in soft sand, your front bar becomes the workbench for getting out. Winch elbows, recovery shackles, and light frames must all play nicely with the bar’s structure. Look for:
- Winch cradles welded or bolted to the main channel, sharing load with the chassis
- Rated recovery lugs cut from thick plate and double‑skinned for strength
- Clear access to clutch levers and rope windows after bar and light installs
- Recessed mounting faces that keep fairleads flush, so synthetic rope isn’t sawn by sharp edges
Put together, these features turn the bar into a one‑stop rescue hub. That’s crucial when the tide’s marching in faster than you can dig.
Strength Under Pressure: Surviving Corrugations and Washouts
Corrugations act like a jackhammer on any accessory bolted forward of the axle. Inferior bars develop hairline cracks near weld toes or in thin side wings.
On the other hand, a well‑designed unit, such as the ones from Ironman 4×4, uses gussets at high‑stress points, laser‑cut slots to eliminate stress risers, and full‑depth chassis brackets that share vertical and torsional loads. Match that with grade‑8 hardware torqued to spec and the bar will shrug off ten thousand bumps without the dreaded metal ‘ring’ that signals fatigue.
Keeping Your Vital Systems Safe and Operational
Behind the grille live delicate, vital parts like the radiator, condenser, and sometimes transmission cooler. A bar with integrated stone mesh, angled lower bash plate, and airflow‑tuned apertures throws rocks downward, not rearward. By directing gravel away from fins and hoses, it prevents punctures and coolant loss.
The extra frontal protection also guards low‑mounted sensors and looms that modern vehicles rely on for engine management and driver aids. Between a sturdy bar and a thin factory bumper, the choice is obvious when you’re 300 km from the nearest hose clamp.
Lighting the Way: Mounting Driving Lights and Antennas for Long Hauls
Night runs and black‑as‑ink station tracks demand reliable lighting and comms. Bar top tubes provide rock‑solid brackets that keep LED spotties steady over corrugations, maintaining beam focus rather than scattering light. Antennas benefit too, as height and isolation from body panels improve signal range. Smart bar designs route cables through grommeted channels, shielding them from UV and stones while preventing water ingress during crossings.
Weight, Balance, and Front Suspension: What People Often Overlook
Add a steel bar, winch, and perhaps dual batteries, and you’ve shifted a fair chunk of mass ahead of the axle line. That extra load compresses coils, steepens caster, and can induce bump‑steer on corrugations.
Mitigation starts with choosing a bar weight your suspension can handle, or upgrading to springs rated 50-100 kg over factory. After fit‑up, a wheel alignment restores steering feel. Here’s why it matters:
- Correct spring rate keeps ride height even, preserving approach angle
- Proper alignment maintains straight‑line stability on loose surfaces
- Beefier lower control‑arm bushes curb the added lateral forces
Corrosion, Coatings, and Longevity in Harsh Climates
Fine dust, salt‑laden creek beds, and humid coastal air will chew bare metal in no time. Multi‑stage protection—grit‑blast, E‑coat, then polyester powder—creates a barrier that flexes with the bar rather than cracking.
Galvanised mounting plates add extra insurance where road grime collects. A quick blast with the hose after muddy jaunts clears drain holes and stops silt from trapping moisture. Do that, and the bar will still look sharp after seasons of hard touring.
When Every Kilometre Counts, So Does the Right Bull Bar
Remote travel is about self‑reliance. A well‑crafted bull bar shields fragile ancillaries, doubles as a recovery anchor, carries your lights, and takes the sting out of animal strikes—all while shrugging off endless washboard tracks.
Choose one built to handle the knocks, match it to your suspension, and keep it clean. Do that, and the next time a ‘roo pops up or the track vanishes into a washout, you’ll be glad the front of your rig is wearing proper armour, not a pretty faceplate.